
The Importance of Your Can-Am Defender Air Filter Maintenance
Your Can-Am Defender’s air filter is essential for delivering clean air to the engine for combustion. Prioritizing Can-Am Defender Air Filter Maintenance improves engine performance, fuel efficiency, and longevity. In this guide, we’ll cover why it matters, how to perform a Can-Am Defender air filter change, and tips for keeping your Defender breathing clean in all conditions.
Why Is Can-Am Defender Air Filter Maintenance Important?
Can-Am Defender Air Filter Maintenance protects your engine by trapping dirt, dust, and debris before they can enter the combustion chamber. Ignoring this key maintenance task can lead to:
- Reduced engine power due to restricted airflow.
- Increased fuel consumption as the engine struggles to breathe.
- Potential engine damage from contaminants.
By performing regular Can-Am Defender Air Filter Maintenance, you ensure your Defender stays efficient, reliable, and ready for any terrain.
When to Perform a Can-Am Defender Air Filter Change
The timing of your Can-Am Defender air filter change depends on how and where you ride:
- Routine inspections: Every 50 hours of operation or as outlined in your owner’s manual. Inspect more frequently when riding in extreme conditions.
- Replacement: Every 100 hours, or sooner if you frequently ride in dusty or muddy environments.
Signs it’s time for an air filter change:
- Noticeable drop in power or acceleration.
- Dark exhaust smoke.
- Poor fuel efficiency or increased fuel use.
Consistent Can-Am Defender Air Filter Maintenance ensures you catch these signs early.
How to Perform a Can-Am Defender Air Filter Change
Performing Can-Am Defender Air Filter Maintenance is simple with a few tools and a little time:
1. Locate the Air Filter
- Park your Defender on level ground and turn off the engine.
- The Can-Am Defender air filter location is typically under the bed, accessible by raising it or opening a side access panel.
- Access the air filter housing and prepare to remove the old filter.
2. Remove the Air Filter
- Carefully take out the old filter.
- Note the orientation for proper reinstallation.
3. Inspect the Filter
- Check for dust, damage, or signs of excessive wear.
4. Install the New Filter
- Use an OEM Can-Am Defender air filter replacement for a precise fit.
- Ensure it’s properly seated to avoid air leaks.
5. Reassemble the Housing
- Secure all clips or fasteners.
- Double-check the seal to maintain proper airflow.
This entire process is at the heart of proper Can-Am Defender Air Filter Maintenance.
Tips for Ongoing Can-Am Defender Air Filter Maintenance
- Always carry a spare filter if you ride in harsh conditions.
- Avoid reusing paper filters; replace them as needed.
- Inspect the housing for cracks or poor sealing.
These simple practices enhance your long-term Air Filter Maintenance routine.
Recommended Products for Effective Maintenance
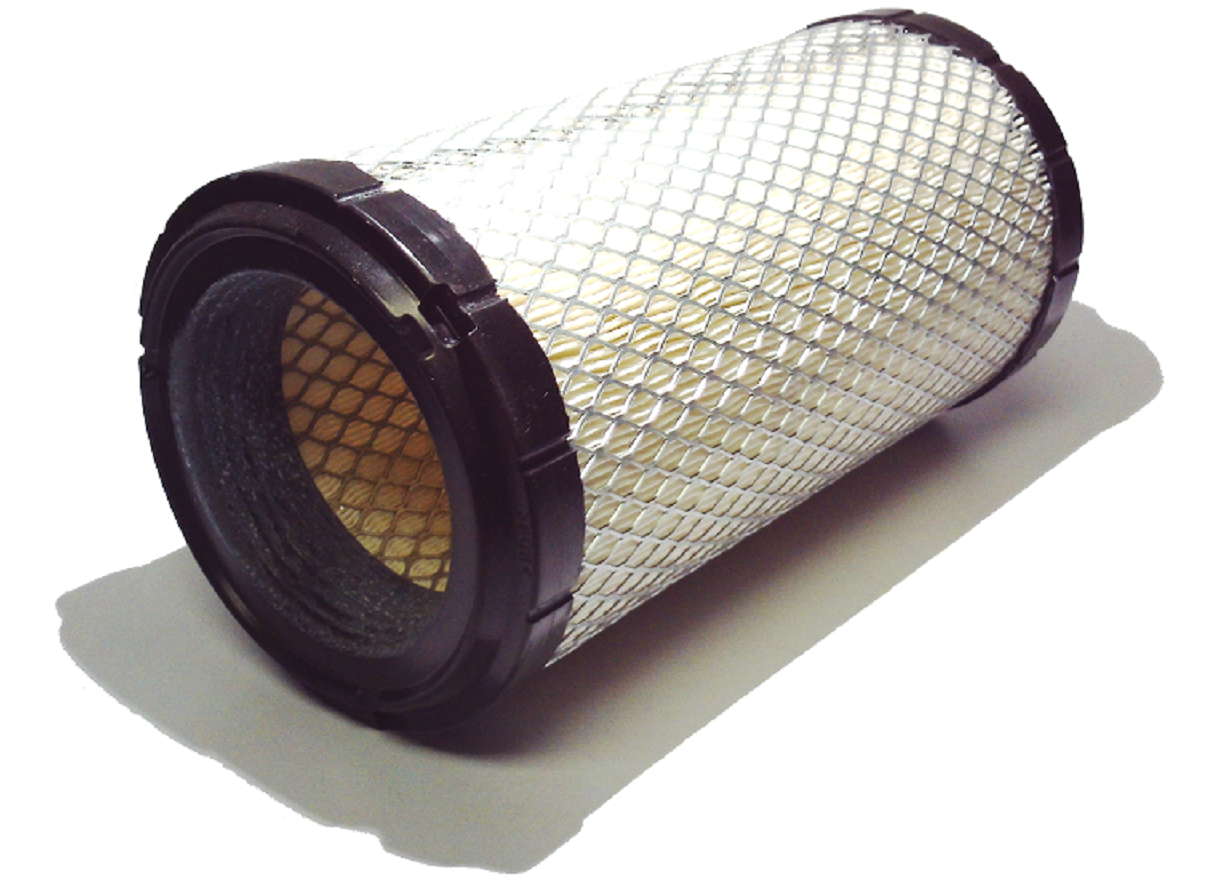
- Can-Am Defender Air Filter: Designed specifically for Can-Am Defenders to ensure compatibility and performance.
- Air Filter Cleaning Kits: For reusable filters, these kits help extend their lifespan.
-
Replacement Air Filter Housings: Ensure a proper seal and optimal airflow with high-quality housings.
To expand your maintenance knowledge, check out these related guides:
- Can-Am Defender Maintenance Schedule: A Comprehensive Guide
- Best Can-Am Defender Maintenance Tips
- Can-Am Defender Oil Change: Step-by-Step Guide
- How to Check and Replace Your Can-Am Defender Drive Belt
Keep your Can-Am Defender running strong—stay ahead of engine wear with consistent air filter maintenance. Tackle your next Can-Am Defender air filter change like a pro and ride with confidence.
Shop the Best Can-Am Defender Air Filters Now and breathe easy on every ride!