
Kawasaki Ridge Air Filter Maintenance Guide
Dusty trails, manure-filled pastures, and weekend creek crossings all dump grit into your intake. Kawasaki Ridge Air Filter Maintenance keeps that grit out of the throttle body, protecting valves, piston rings, and—ultimately—horsepower. Skip even one Kawasaki Ridge Air Filter Change and airflow plummets, fuel trims spike, and you burn more gas while making less power. Respect the service chart and let Kawasaki Ridge Air Filter Maintenance guard the heart of your machine.
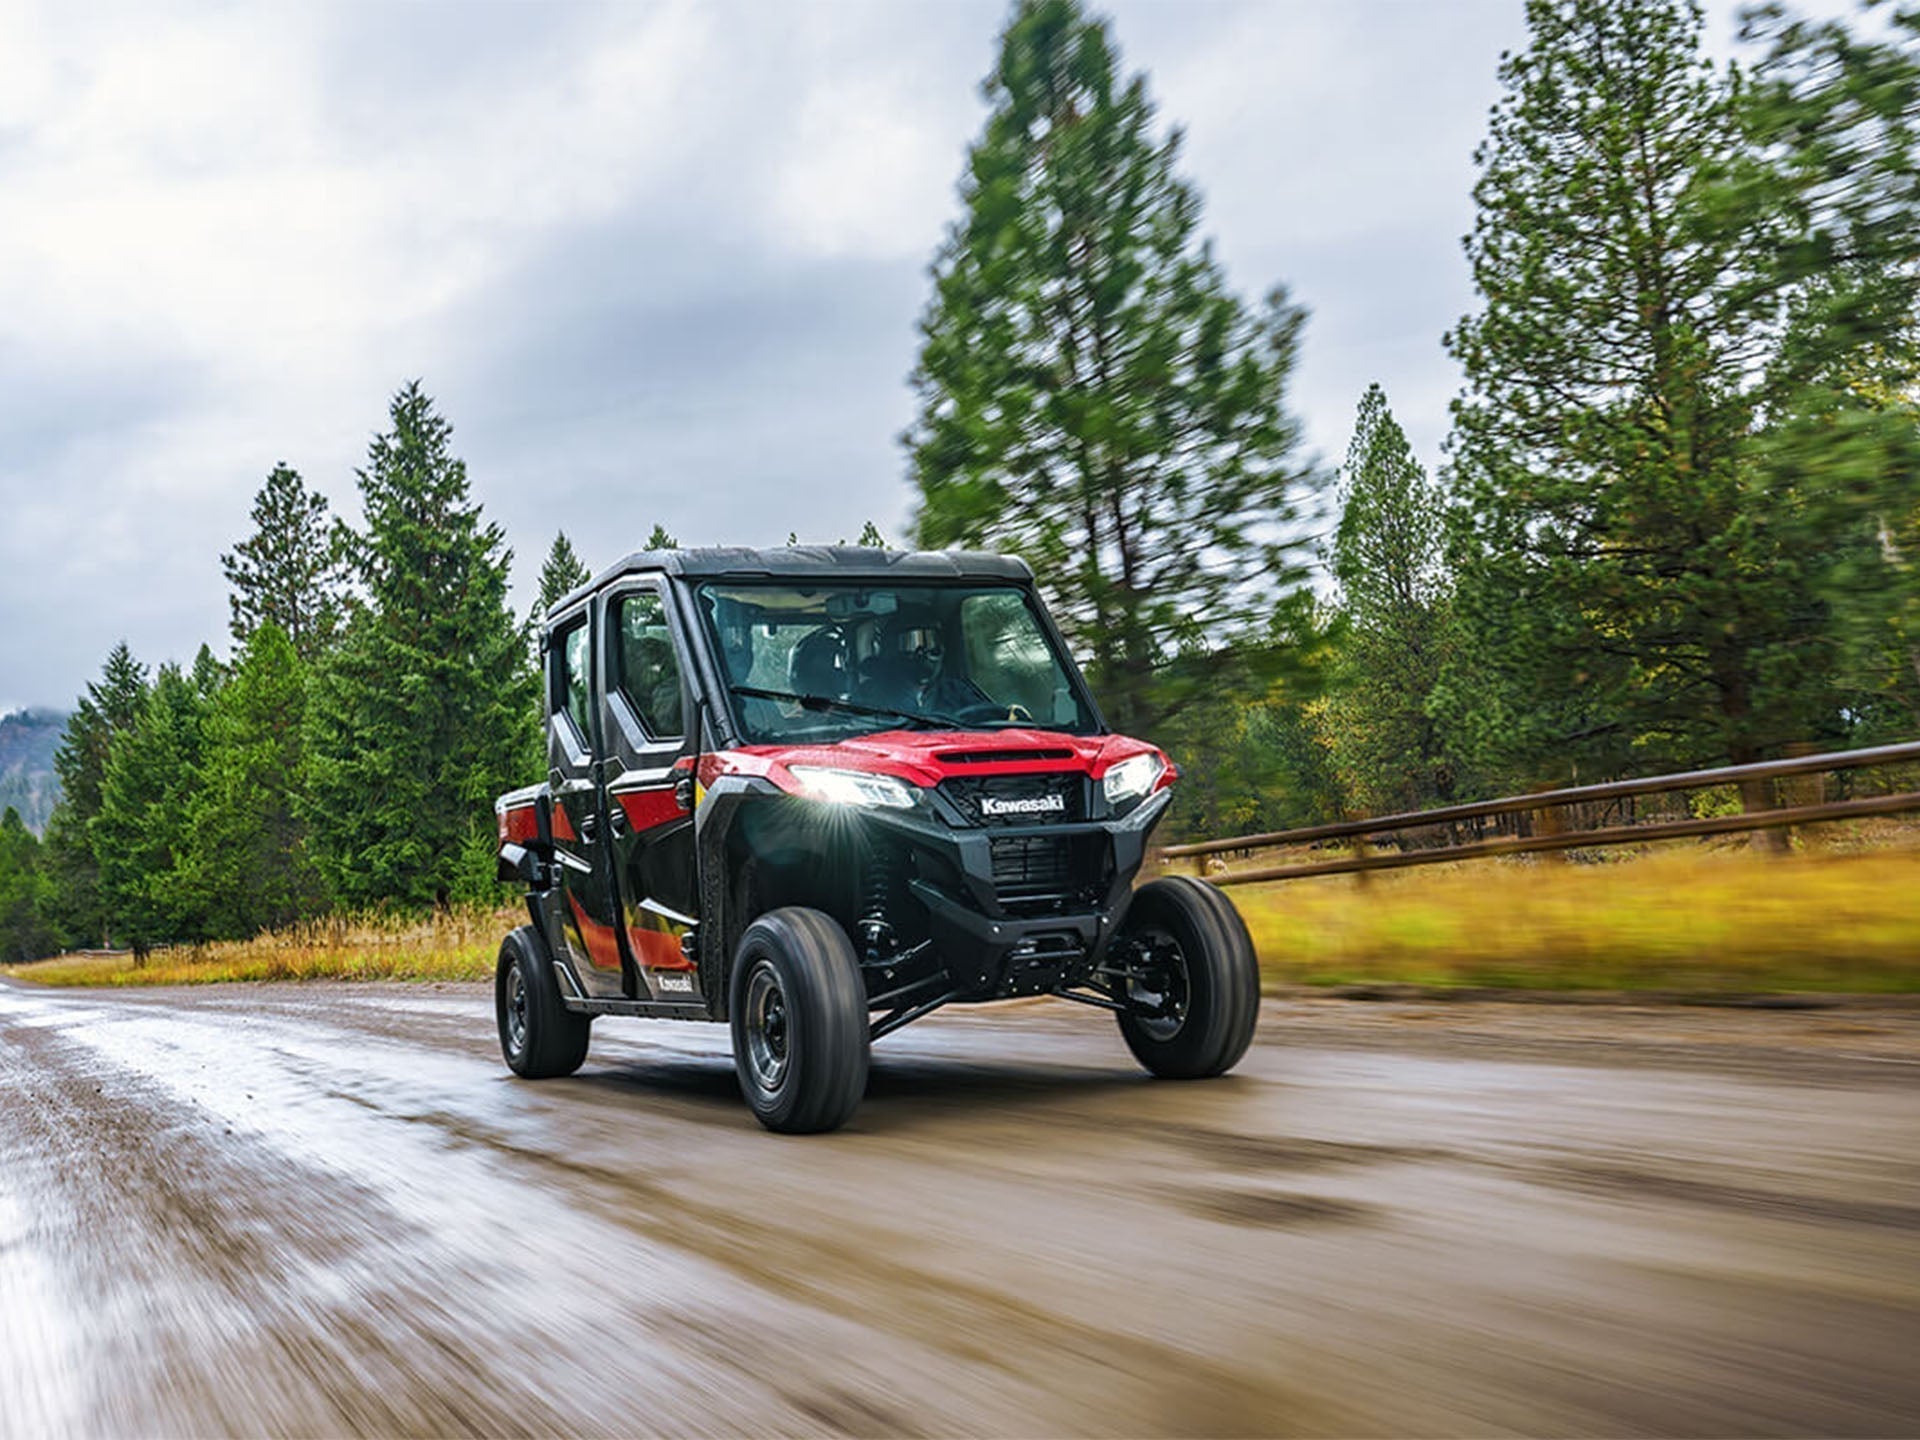
Finding the Kawasaki Ridge Air Filter Location
New owners often search forums for the Kawasaki Ridge Air Filter location. On the Ridge, the airbox hides behind the driver’s seat under a weather-sealed cover. Pop the seat, release two quarter-turn fasteners, and you’ll see the cylindrical filter element ready for Kawasaki Ridge Air Filter Maintenance.
Recommended Service Intervals
Kawasaki lists 50-hour inspection and 100-hour change intervals, but heavy dust or deep-water fording can cut that in half. If your last ride left a haze of silt on the cargo bed, schedule a precautionary Kawasaki Ridge Air Filter Change. Proactive Kawasaki Ridge Air Filter Maintenance is cheaper than an intake overhaul.
Tools & Supplies
- OEM or Best Kawasaki Ridge Air Filter of your choice
- Clean nitrile gloves
- Lint-free shop towels
Gather these first so the actual Kawasaki Ridge Air Filter Change takes ten minutes, not forty.
Kawasaki Ridge Air Filter Maintenance: Step-by-Step
This Kawasaki Ridge Air Filter Maintenance procedure is designed for driveway DIYers:
- Raise the seat and wipe dust away from the cover.
- Open the airbox slowly; knocking loose dirt inside defeats the purpose of Kawasaki Ridge Air Filter Maintenance.
- Extract the element and plug the intake throat with a clean rag while you work.
- Inspect for tears or oil saturation. If the element looks deformed or you spot holes, go straight to Kawasaki Ridge Air Filter Replacement instead of risking an engine rebuild.
- Clean with low-pressure compressed air. Let it dry fully.
- Reinstall with arrows aimed at the throttle body. A reversed element can collapse under WOT, so orientation is critical for correct Kawasaki Ridge Air Filter Maintenance.
- Seal the lid evenly. A pinched gasket turns the next mud bog into mud ingestion.
- Log hours and date in your maintenance book to stay on schedule for the next Kawasaki Ridge Air Filter Change.
Follow these eight steps and every cycle of Kawasaki Ridge Air Filter Maintenance will keep your airflow factory-fresh.
Picking the Best Kawasaki Ridge Air Filter
Choosing the Best Kawasaki Ridge Air Filter comes down to where you ride:
- OEM Paper – Perfect for everyday chores, quick swaps, and stock-level filtration.
- High-flow Paper – Gains a hair of throttle response but clogs faster; double the Kawasaki Ridge Air Filter Maintenance frequency in dust.
Whatever you pick, always keep a second element bagged!
Pro Tips to Extend Filter Life
- Pre-filters rock – A nylon pre-filter sock sheds big debris and halves the load on every cycle of Kawasaki Ridge Air Filter Maintenance.
- Grease the rim – A thin ring of waterproof grease on the sealing lip blocks micro-dust.
- Never power-wash – High-pressure water forces grit deep into media, making the next Kawasaki Ridge Air Filter Change pointless.
- Oil lightly – Over-oiling suffocates flow and soaks the MAF sensor.
Dial in these habits and you’ll stretch hours between each Kawasaki Ridge Air Filter Change.
Recommended Reading
- Kawasaki Ridge Maintenance Schedule: The Only Checklist You'll Ever Need
-
Kawasaki Ridge Oil Change Guide & Tips
- Ultimate Kawasaki Ridge Brake Maintenance Guide
Bookmark these deep dives to build a complete Ridge knowledge library.
Regular, thorough Kawasaki Ridge Air Filter Maintenance is cheap insurance against dust-scored cylinders and lost weekends. Stock an extra filter, grab the right tools, and make each Kawasaki Ridge Air Filter Change part of your post-ride ritual. Whether you stick with OEM or the Best Kawasaki Ridge Air Filter, this guide ensures that every Kawasaki Ridge Air Filter Replacement is quick, clean, and confidence-boosting—so the only thing clogging your adventure is your schedule, not your intake.
FAQS
Where exactly is the Kawasaki Ridge air filter, and what’s the quickest way to access it for maintenance?
The air filter sits inside a weather-sealed airbox behind the driver’s seat. Simply lift the seat, twist the two quarter-turn fasteners, and the cylindrical element is exposed—ready for the eight-step Kawasaki Ridge Air Filter Maintenance procedure outlined above.
How often should I inspect or replace the air filter, and when should I service it sooner than the factory schedule?
Kawasaki calls for an inspection every 50 hours and a full replacement every 100 hours. Heavy dust, deep-water crossings, or any ride that leaves a fine silt haze on the cargo bed can cut those intervals in half, so schedule an extra Kawasaki Ridge Air Filter Change whenever conditions are severe.